6152 Views |

Burnside 35 is one of our most versatile lenses. With its wide 35mm focal length it’s an ideal creative effects lens for street photography, landscape photography, and environmental portraiture.
Create street photography with emotion and mood – making something extraordinary out of the ordinary- with in-camera vignette and edge softness.
Try something new with your landscape photography and experiment with swirling bokeh, painterly edge softness, & vignette – while being versatile enough to let you capture more traditional landscape imagery as well.
Use the swirling bokeh and center brightness for your environmental portraiture to frame subjects and really make them pop.
We’ll take you through the steps so that you understand all that Burnside is capable of below.
SETUP 1
Creating Images with Swirly Bokeh:
With this setup, you’ll get an image with the most swirly bokeh. This is a great setup for shooting environmental portraits.
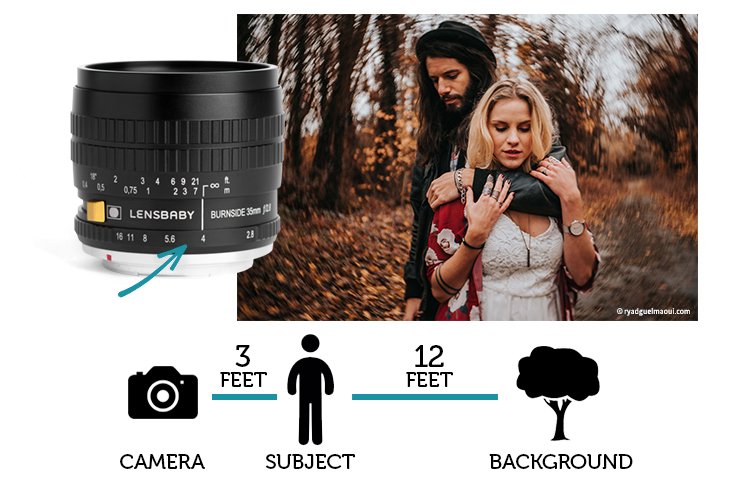
1. Set your aperture to f/2.8.
2. Compose your image by focusing on something close to the camera – 3 feet (1 meter) or closer. Put some space – 12 feet or more (3 meters) – between your foreground subject and your background. (If there’s more than 3 meters between you and your subject, increase the distance between subject and background. If your subject is further away than 2 meters, you’ll get very little swirl.)
3. Make sure that your background has texture to it, like leafy trees, brick buildings, or holiday lights.
Adjust the Slider for More Effect

1. Slide the gold effect slider up (toward the vignette icon) – this will increase the vignette, center brightness, and swirl. Try the third and the fourth stop to see which gives you the most swirl for your background.
2. or less effect, simply move the gold slider down.
Adjust Variables to Lessen Bokeh Swirl
1. Go back and try this same scenario at a range of aperture settings.
2. Try a similar scenario with less distance between subject and background.
3. Try a similar scenario where the background has less texture.
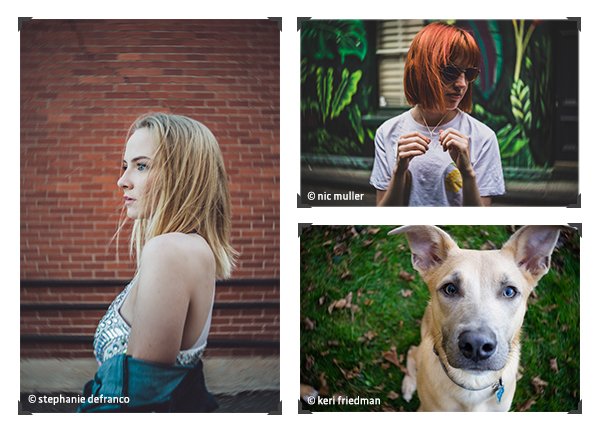
Photos below have both swirl and vignette.
Notes :
On a crop sensor camera, you’ll have less swirl, a larger sweet spot of focus and less vignette when shooting at f/2.8 through approximately 5.6. You’ll still get effect on crop sensor cameras, it will just be less than on full frame.
SETUP 2
With this setup, you’ll get a more traditional image that still has softness or very subtle swirl at the edges. You can also choose to add in vignette if you want. This is a great way to shoot landscape or street photography.
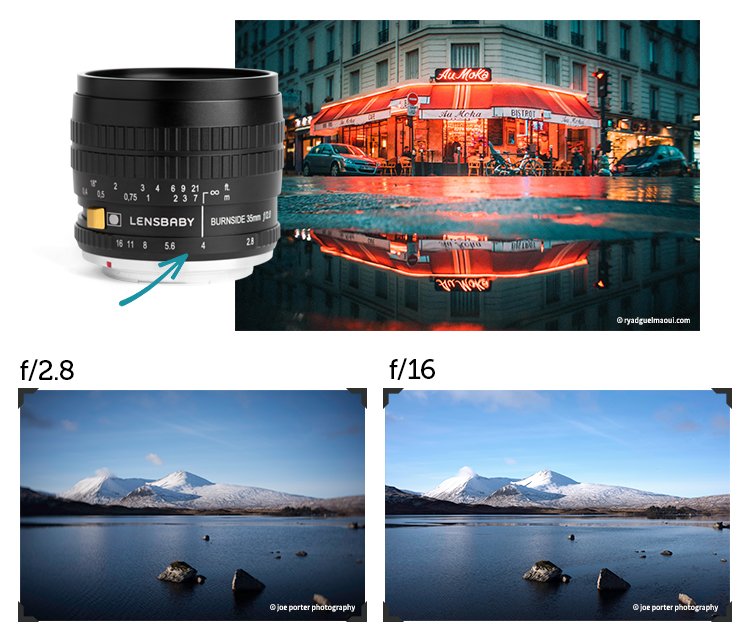
1. Choose your aperture for the amount of depth of field and size of the central area of focus that you want.
2. Compose a scene (like a landscape shot of a lake, building, vista, etc) in which most elements are at or near infinity or on the same focal plane.
3. Slide the gold effect slider to adjust the amount of vignette to your liking.
BONUS
Shooting a series with a range of vignette settings:
1. Shoot this scene with the gold effect slider toggled to its brightest setting, then adjust one tick and take another shot until the slider is stopped down all the way.
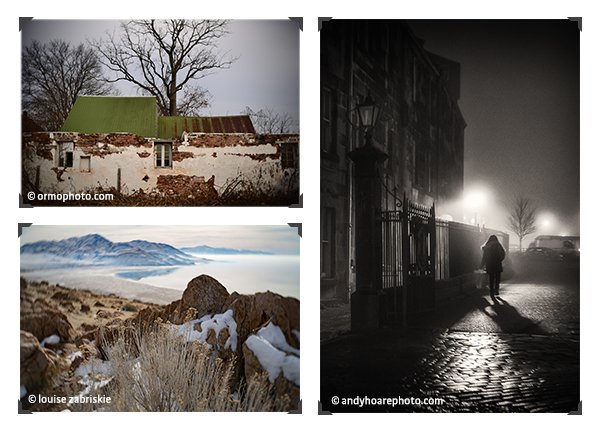
The following images illustrate the range of vignette possible with Burnside 35, where the bokeh is less swirly and more soft.
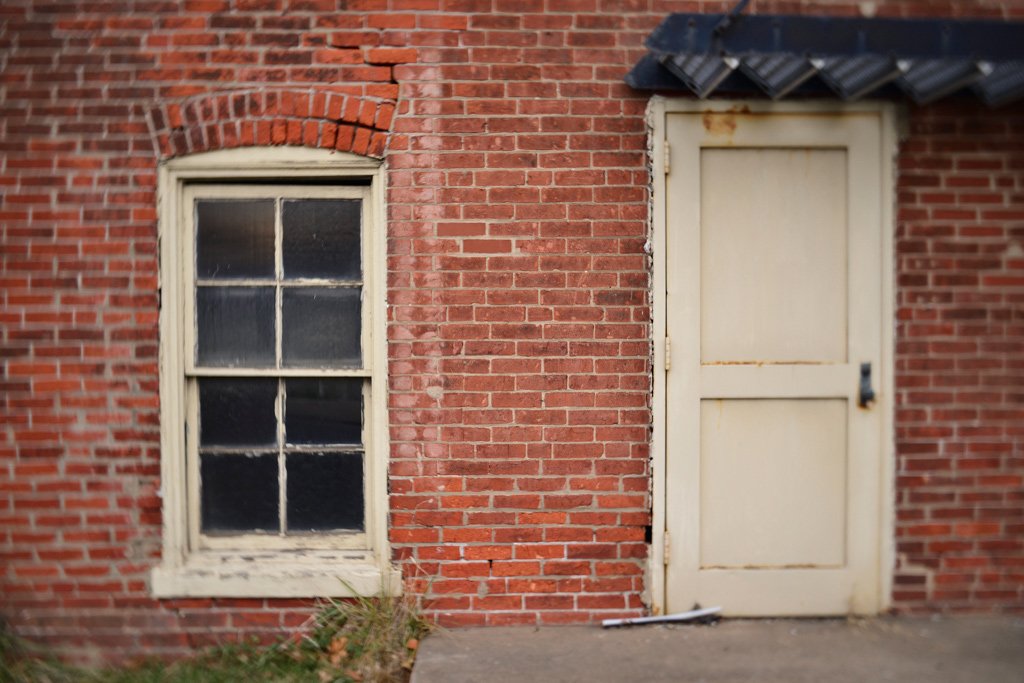
ormophoto.com with Burnside 35 – brightest vignette setting
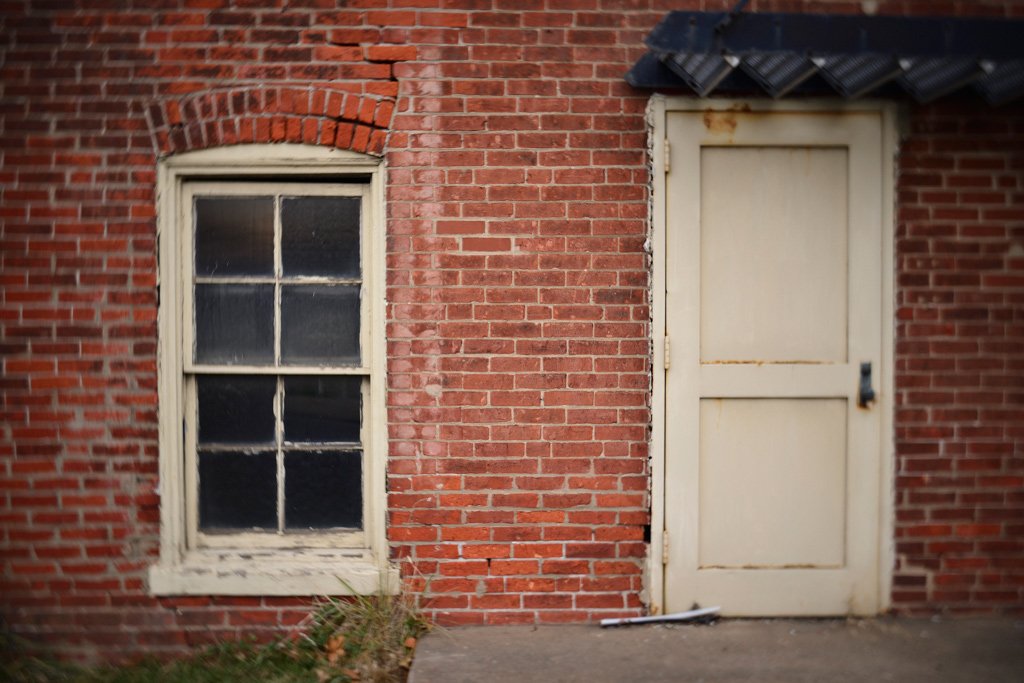
ormophoto.com with Burnside 35 – mid-range vignette setting
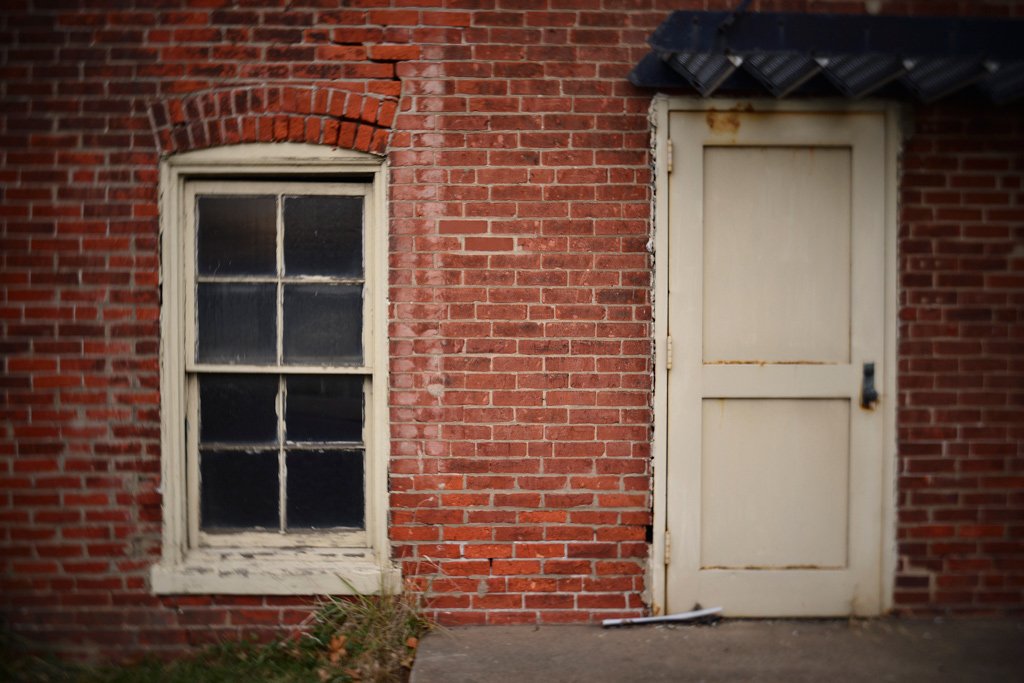
ormophoto.com with Burnside 35 – mid-range vignette setting
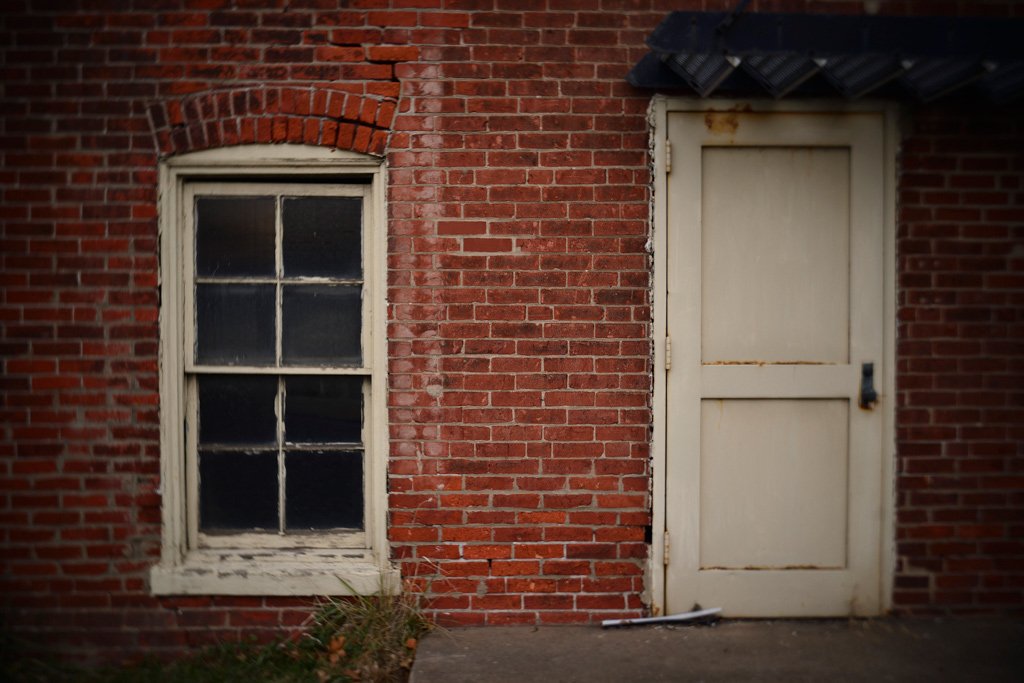
ormophoto.com with Burnside 35 – darkest vignette setting
by : https://lensbaby.com/burnside-35-a-step-by-step-guide/