6282 Views |
Add another layer to your creative vision with the Polaroid Go camera’s easy-to-use double exposure. In double exposure mode, two images are layered into one tiny Polaroid Go frame. Double the creativity, half the size!
To see how it’s done, watch a demonstration with our friend Ben from “In an Instant,” or read on for step-by-step tips and illustrations.
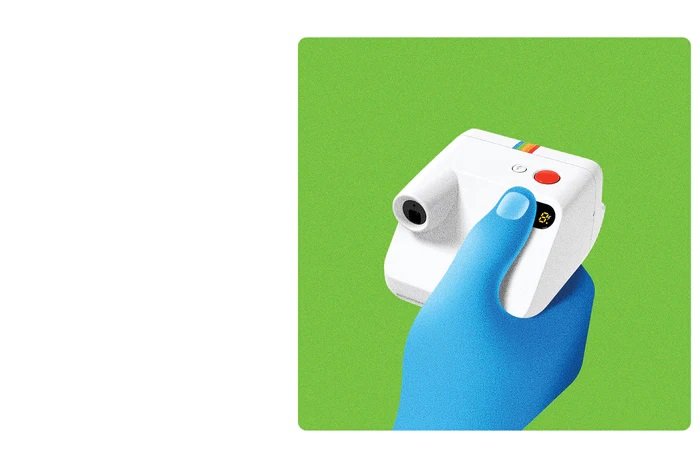
To start, double press the flash button on the top of the Polaroid Go camera. Now you’ll see the number 1 in the display window. This is how you know you’re in double exposure mode.
If you’d like to disable flash, you can simply press the flash button once. If you change your mind and no longer want to take a double exposure, you can double press the flash button again.

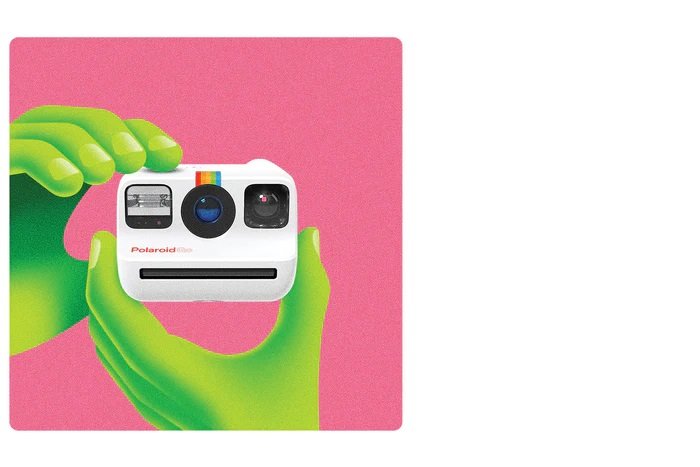
Take your first exposure by lining up your shot and pressing the red button. Now your display will read “2.”
Now you’re ready to take your second exposure.

If you want to wait more than a few minutes between exposures, turn your camera off after the first exposure and back on when you’re ready for the next exposure.
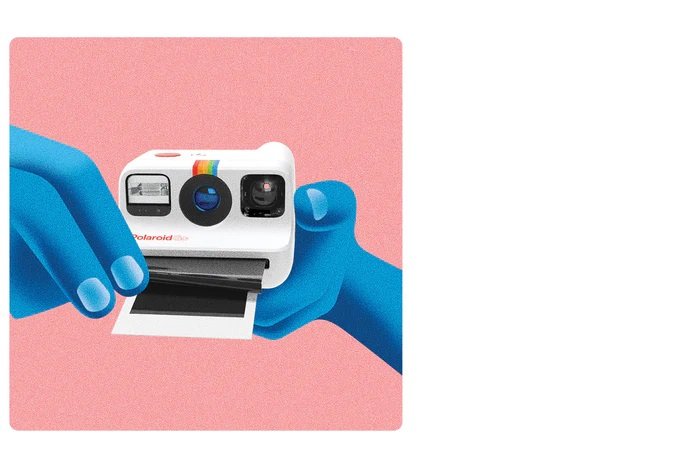
The photo will eject underneath the film shield. Leave it there for 5 seconds. Then gently lift the film shield and let it roll back in. Remove the photo.

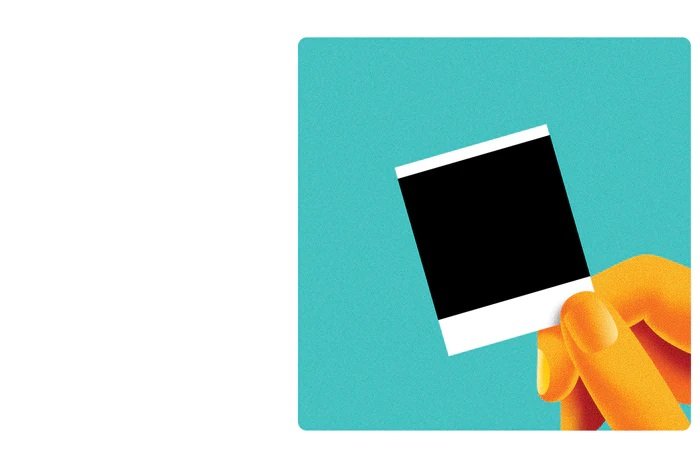
Don’t shake the photo! Place your photo in a dark place or face down on a flat surface to shield it from light. Follow the development time on the film pack.

Since the film is being exposed twice, it’s important not to use too much light. Consider turning off the flash for one or both shots. Scenes with lower light, higher contrast, and color tend to work best. Avoid white backdrops because they can contribute to overexposure.

Now that you’ve got the tips and tricks, you’re ready to snap twice the creativity into your Polaroid Go photos. Learn more about how to use the Polaroid Go camera with our step by step guide or learn how to use other features, like the selfie mirror, with our tutorial.